The loop stitch is a beautiful textured stitch in knitting. There is one in crochet too, but here we’ll discuss the interesting knitting technique. With any of the knitting needles in your craft bag, you can knit loop stitches. The stitch pattern is non-reversible as the special; effects are visible only in the front or RS of the project. With loop stitches create a fur-type texture on a stuffed animal, make a scarf look glamorous, create a practical dishcloth, a beautiful cushion or a headband, or even a warm rug.
Knitting the loop stitch is not challenging as it looks. You can choose any yarn, fuzzy fibers will do wonderfully but might challenge you to clearly spot the stitches and follow the steps. If you are a pro at changing or alternating yarns then alternate the yarn for the loop stitches while working with a dense and stable fabric for the row of knit stitches. For knitting needles, you can work the loop stitch with any needle type. Straight as well as circular needles are ideal for back-and-forth knitting if you are planning to knit a dishcloth or a scarf. For knitting in the round, for hats or tops of socks or even a headband work with double-pointed needles (if you are comfortable with DPNs and are working on small circumference projects.) Circular knitting needles open up multiple options for round knitting.
So, without further ado, let’s get started.
Step 1: Cast on Stitches
Like every knitting project, start with a cast on. Cast on stitches in even numbers plus 2 with any method you prefer. If you are confident with the long tail cast on then go ahead with it. If you are following the pattern you will have the stitch count mentioned. For practice start with a swatch and cast on 30 plus 2 stitches.
Step 2: Knit the first row or round
Work with the knit stitch for the first row of your loop stitch project as it will give you a stable foundation to make loop stitches. Turn your project to begin a new row. If you are working on a project in the round, you do not need to turn the project but work seamlessly in rounds. Generally, new knitters or ones who do not have enough practice with knitting in the round must not attempt loop stitches.
Step 3: Working the Loop Stitch
For the next row, you can start working on the loop stitch. Start as if you are going to knit the stitch, but do not complete it, instead, take the yarn strand and wrap it around the knitting needle tip that you just inserted through the stitch. Wrap the yarn clockwise (from right to left) around the needle and then bring the working strand to the front of your work. Loop the yarn around your thumb or any finger and then around the knitting needle tip. You can use a DPN or any other object to make a loop. Make the loop at the length you want it to be, and move your thumb away from the stitch for a longer loop while for a shorter loop position your thumb right next to the needles.
Now, complete with a knit stitch and you’ll have your first loop stitch. The loop (the danging yarn) is secured with a knit stitch. It is important to knit a stitch after each loop stitch or the loops will unravel. Similarly, to stabilize the loops work on the next row with only knit stitches.
Continue with the pattern of alternative rows of knit stitches and loop stitches until you have completed your project.
Step 4: Finish your project
Make sure that the last row before you bind off the knitting is only made with knit stitches. This way you can bind off your stitches knitwise. Make sure to weave in the yarn ends with a darning needle. If you have used two different yarn textures trace the path of the stitch with the needle threaded with yarn to prevent it from coming undone.
With this tutorial, you are ready for knitting the loop stitch. Begin with a quick project. A headband of 4 inches wide can be made flat and seamed in a round with a darning needle or you can knit with circular needles and make a seamless pattern. A dishcloth is also quick and easy to make.
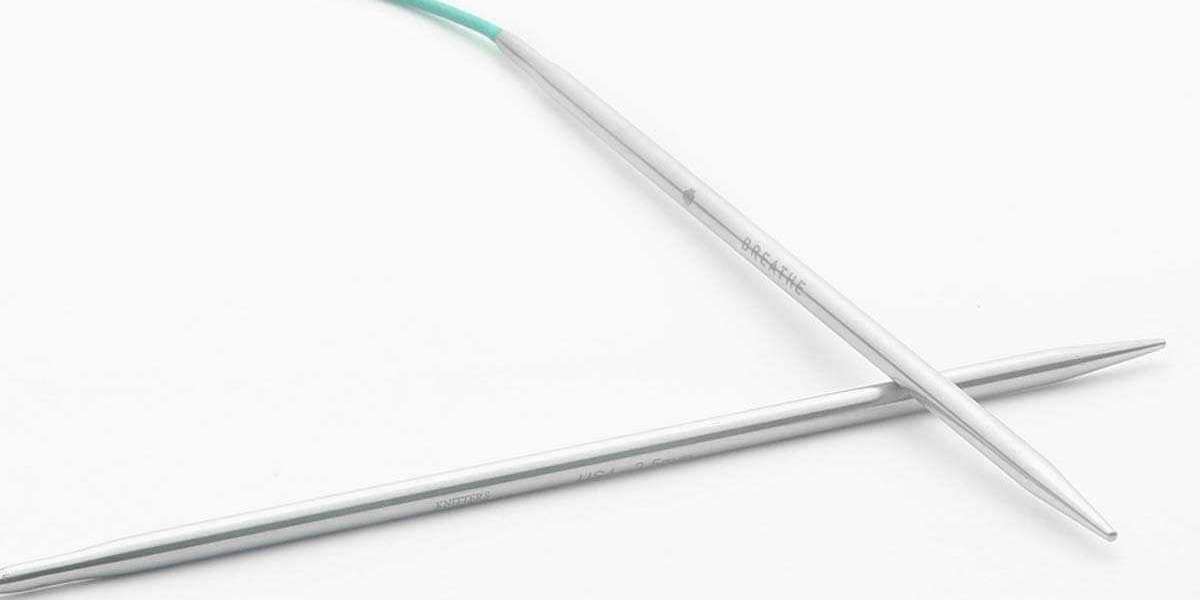
We hope you take the plunge and give the textured loop stitches a try. Whatever your knitting style or technique, explore the Mindful Collection of knitting needles and accessories for the right fit. The stainless-steel tips work well with all types of yarn and colors. The collection is special as each needle carries an inspirational word to help knitters focus on the positive attributes of the craft. The Mindful Knitting Needle Sets offer a complete collection to get ready to tackle a variety of projects.
Happy knitting!
Source: https://writeupcafe.com/how-to-knit-the-loop-stitch/


