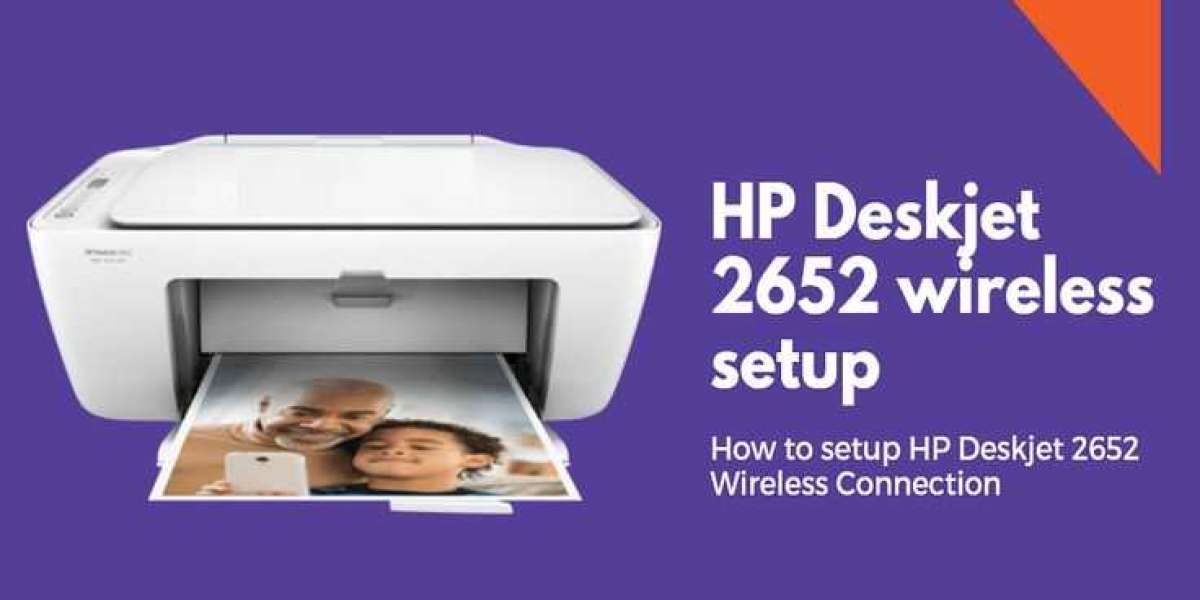
Have you recently bought HP DeskJet 2652 printer and looking to set up it in your office or home? The way for HP DeskJet 2652 setup is enough easy and clear. You can fluently set up your printer and start publishing using it by approaching the right way. Your first approach should be to find a proper place for your printer. To connect your printer to the computer, you may need to download the motorist lines on your computer. You may also need to visit the wireless section to connect your printer to WiFi. So, if you’re also looking for a way to set up your HP DeskJet 2652 printer also you have visited the right runner. This post will guide you on how to set up a new HP DeskJet printer by establishing a wireless connection between your computer and printer. So, with no farther detention, let’s move forward to bandy the way to set up your printer.
Way to HP DeskJet 2652 Setup
- Find a proper place for your new HP DeskJet Printer
- Then, unpack it and place it on a flat surface
- Now, plug it into an AC power source and press the power button to turn it on.
- Finally, you have Set UP HP Printer using 123.HP Setup
Steps for HP DeskJet 2652 download the driver file
- Using a browser of your Windows or Mac computer, locate the HP Printer Support Page
- Let HP detect the model number of your device and then follow the prompts to begin the downloading process of compatible driver files on your device
- After downloading the driver file, locate it on your computer and double tap on it
- Follow the prompts to complete the installation process of HP Printer driver files
- Launch the driver file and follow the instructions to setup a connection between your printer and computer
- Finally, you have completed the steps for HP DeskJet 2652 setup.
Method to HP DeskJet 2652 Wireless Setup password
- On the control panel of your Printer, locate the hp printer wireless setup button and tap on it
- Now, visit the ‘Network’ section and look for the available device
- Find your device and enter the password of your router and click on the ‘OK’ button
- Wait for a while and let your printer establish the connection to your router.
Why won’t my HP DeskJet 2652 Connect to WIFI?
- Make sure that you are entering the right password details on your HP Printer
- Check that your WiFi is in working condition or not
- Ensure that printer is connected to an AC power source and turned on
- Remove the extra USB cable or Ethernet cable connected to your printer
How to connect HP DeskJet 2652 Printer to WiFi?
- On your printer, visit the control panel
- Locate the wireless button and tap on it
- Head to the ‘Networks’ and look for the address of your WiFi
- When found, enter the passcode of your WiFi and tap on the ‘OK’ button
- The HP Printer will start to establish the connection process between your printer and WiFi
- Finally, you have completed the steps for HP DeskJet 2652 wireless setup
Conclusion
To add up, set up your new HP DeskJet 2652 Printer and start your printing work with it. The process to set up your HP Printer is easy and clear. All you need to do is, find a proper place for your printer and connect it to an AC power source. also, with the help of way that are mentioned in this post establish the wireless connection between your printer and your router’s network. You may need to download and install the motorist lines to connect your computer to your printer. In case you’re still looking to know further about the setup process of the HP Printer also you can approach the 123.hp setup webpage and take the help of the HP Printer Assistant. Hopefully, you have learned about the HP DeskJet 2652 setup by pertaining to this post.


123hpcomsetup 19 ث
123 HP Mart is the ultimate solution to all your HP printer needs. We not only offer HP printing devices at affordable rates but also help you with the setup process and error messages and codes. <a href="https://123hpmart.com/">123.hp.com/setup</a>
<a href="https://123hpmart.com/">123.hp.com setup</a>