An I-cord can be used in multiple ways in many knitting projects. With any knitting needles (single-pointed, double-pointed or circular) you own you can easily create an I-cord. The very narrow tube looks a bit like French knitting. Knitting an I-cord is a good skill for every knitter, beginner or advanced. The cord can be used to add to the beauty, make a neat edge to flat knitted patterns such as blankets and scarves or make the project useful.
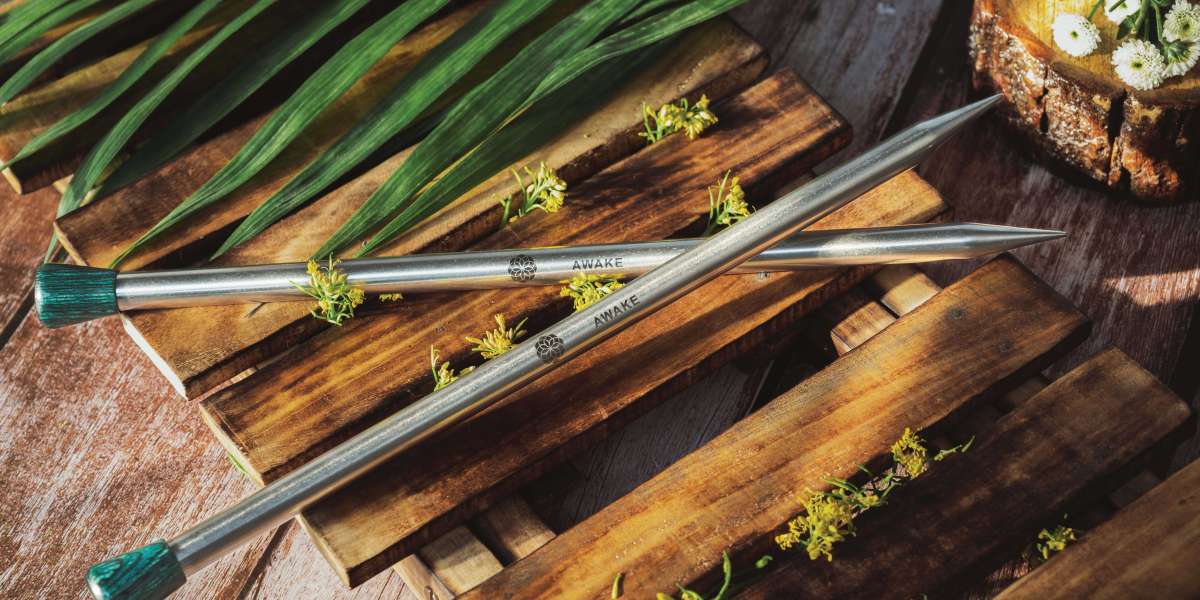
In this blog post, let us walk you through all the methods of knitting an I-cord. You can knit one with double-pointed needles (the most common option for knitting small tubular projects) or circular needles or even single-pointed needles. You can find all the needle types in our Mindful Collection. Each of the stainless knitting needles has been designed for perfect stitch-making as well as each one carries an inspirational word imprinted on its body, motivating the knitter.
Method 1: Knitting with Double-Pointed Needles
The double-pointed needles are the best option for knitting small circumferences besides the magic loop technique. To make the I-Cord you do not require the entire set of five needles, as can easily work on two. Given the ability to knit from both ends, the needles are the most used option to make such a small tubular project. The trick to making a neat cord is to make sure to knit on the right side and not backward or from the inside.
So, here are the instructions.
Step 1 - Cast on 3-5 stitches. You can go ahead with any other method too as you need only a few stitches.
Step 2 - Knit the row (the 3- 5 stitches). Do not turn the work.
Step 3 - Simply slide the stitches to the other pointy tip of the DPN.
Step 4 - Knit the stitches for the second row or round. Keep the yarn behind the work, basically behind the knitting needles in way similar when you work the knit stitch and start with the first stitch. Tug the yarn after each first stitch. This will help the cord to take shape and to even out the tension.
Step 5 - Keep following the steps 1-4 till you’ve got the desired length..
Method 2 - Single Pointed Needles
Given the simplicity and ease of knitting, you can easily knit on single-pointed needles.
Step 1 - Cast 3-5 stitches or the number for how wide you want the I-cord to be on one needle of the pair. Use any method to cast the stitches.
Step 2 - Knit the row. Do not turn in your work as you usually do when knitting with STNs.
Step 3 - Slide the stitches from one tip of the needle directly onto the tip of the other needle without dropping any stitches. You will always work with stitches on your left hand needle.
Step 4 - Repeat steps 2 3 until the I-cord is of the desired length.
Method 3 - Circular Knitting Needles
The circular needles are versatile tools and for knitting an I-cord you can easily use them. You don’t even need to attach the cable in case of interchangeable needle tips or even use the cable. For I-cord, it is best that you work on a 25 cm fixed circular needles that allows knitting the small circumference freely.
Step 1: Cast on stitches depending on the thickness of the I-cord you want with any method you prefer.
Step 2: Knit the row.
Step 3: Slide the stitches from one needle to the other.
Step 4: Repeat step 2 3 until the I-cord is the desired length.
With these 3 mtehods, you can make an I-cord for any of your project. You can follow these steps and if you have a pattern that mentions how to knit an I-cord, you can follow that.
Besides, the above three there are different I-cords.
Spiraling I-Cord can be made with any of the knitting needles. The steps however is to repeat k3, p1. The purl stitch gives a twist to the central axis and makes the project look a little spiral.
Curly I-Cord can be knit of the needle types. The step however is to make slipped stitches for a corkscrew curl. The stitch pattern is - Row 1: Knit and Row 2+3: K1, Sl1, K1. Repeat those three rows over and over again, till you have the desired length.
An I-cord Bind Off too works on all knitting needles. Continue with your project till the last row. Then when you get to the last row. Make an I-cord bind off.
Knitting an I-cord is a beautiful way to have neat edges. Simply add 6-10 stitches to the cast-on. While knitting the rows, K1, slip 1 with yarn in front and then K1. For an I-cord edge on the wrong side of the project - slip 1 with yarn in front, K1, slip 1 with yarn in front, work across row to last three stitches, slip 1 with yarn in front, Knit 1, slip 1 with yarn in front. This will give your blankets carves and even dishcloth projects a beautiful edge, especially if you’ve worked them in stocking stitch pattern.
For knitting an I-cord or other projects, choose knitting needles from the Mindful Collection.
Source: https://medium.com/@mindfulknitpro/knitting-an-i-cord-3-ways-to-make-them-db9b5aa738


