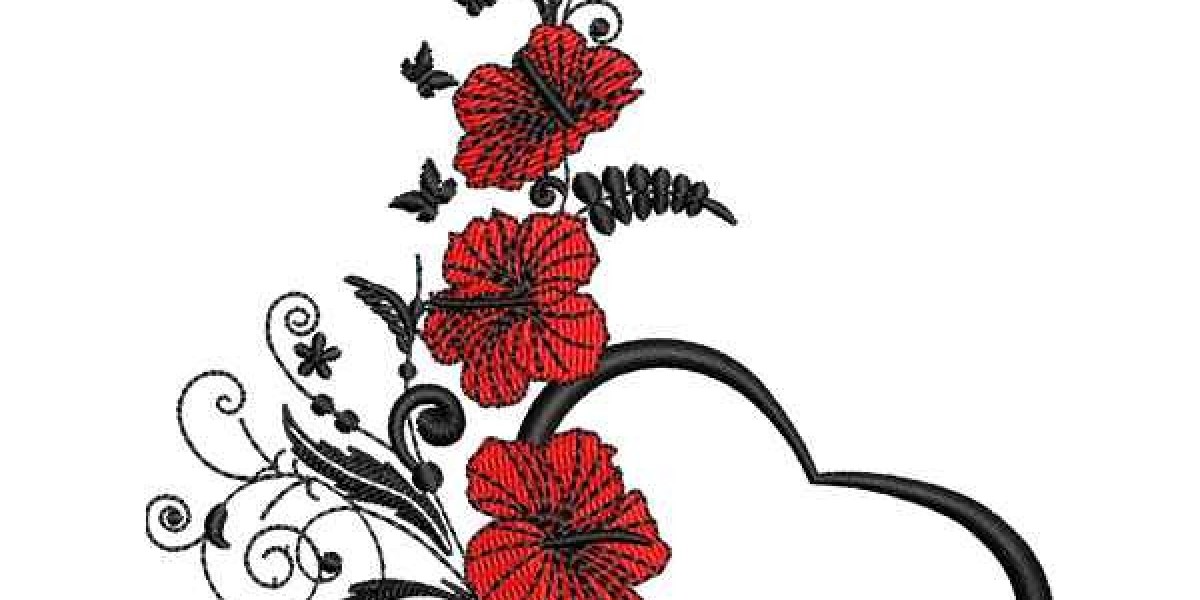
Embroidery is a timeless art form that has evolved significantly over the years. From hand-stitched designs to the modern marvel of machine embroidery, it has become more accessible and versatile than ever before. If you're looking to add a personalized touch to your caps or hats, you've come to the right place. In this guide, we will walk you through the essential steps of hooping a cap or hat for embroidery. Whether you're a novice or an experienced embroiderer, these tips and tricks will help you achieve professional results.
The Importance of Proper Hooping
Proper hooping is the foundation of successful embroidery on caps and hats. It ensures that your design is centered, aligned, and secure during the stitching process. Improper hooping can lead to misalignment, puckering, and a generally unprofessional finish digitizing services for embroidery. To avoid these issues, follow the steps below:
What You'll Need
Before we dive into the hooping process, gather the following supplies:
- Embroidery Machine: Ensure your embroidery machine is in good working condition.
- Cap or Hat: Choose the cap or hat you want to embroider. Make sure it's clean and in good shape.
- Cap Frame: You'll need a cap frame compatible with your embroidery machine.
- Stabilizer: Select the appropriate stabilizer for your fabric and design.
- Scissors: Sharp scissors for trimming excess stabilizer and thread.
- Marking Tools: Fabric-friendly marking tools like chalk or water-soluble pens.
- Vector Art Services: If you're not confident in your digitizing skills, consider using vector art services from a professional company like zdigitizing to convert your design into a digitized format.
- Machine Embroidery Designs: Have your desired embroidery design ready in the appropriate file format (usually .DST or .PES).
Now, let's break down the hooping process step by step:
Step 1: Prepare Your Cap
Before hooping, examine your cap or hat closely. Make sure it's clean, free of wrinkles, and in good condition. Check for any embellishments or decorations that might interfere with hooping or stitching convert picture to embroidery.
Step 2: Choose the Right Cap Frame
Ensure you have the correct cap frame for your embroidery machine. Cap frames are specifically designed to hold caps securely during the embroidery process. They come in various sizes and styles, so choose one that matches your machine's specifications and the size of your cap.
Step 3: Insert the Cap Frame
Follow your embroidery machine's user manual to insert the cap frame properly. This usually involves securing the cap frame onto the machine's embroidery arm. Make sure it's securely attached to prevent any wobbling or misalignment during embroidery.
Step 4: Prepare the Stabilizer
Stabilizer plays a crucial role in supporting the fabric and ensuring the embroidery design remains crisp and secure. Select the appropriate stabilizer based on the cap material and your design's complexity. Cut a piece of stabilizer slightly larger than the cap's embroidery area.
Step 5: Mark the Center
Use your marking tools to find the center of the cap's front panel. This is where you'll position your embroidery design. Measure and mark the center horizontally and vertically with small, discreet marks that can be easily removed later.
Step 6: Hoop the Cap
Here comes the critical part: hooping the cap. Follow these steps carefully:
a. Position the Cap
Place the cap onto the cap frame, ensuring that the front panel is centered over the marked crosshair. The bottom edge of the cap should be just above the cap frame's lower hoop, allowing the bill to hang freely.
b. Secure the Cap
Most cap frames come with clips or clamps to hold the cap in place. Gently but firmly secure the cap by attaching these clips to the sides of the cap's sweatband. Ensure it's snug but not overly tight, as excessive tension can distort the cap's shape machine embroidery designs.
c. Attach the Stabilizer
Lay the prepared stabilizer on the inside of the cap, covering the area where your design will be embroidered. Smooth out any wrinkles or folds to ensure even support.
d. Align the Marks
Double-check the alignment of the cap with the marked center on the cap frame. Make any necessary adjustments to ensure the cap is perfectly centered.
e. Tighten the Hoop
Carefully push the cap frame's upper hoop down, aligning it with the lower hoop. Secure the cap by tightening the hoop until it's snug but not overly tight. Ensure that the cap is held firmly in place without any slippage.
Step 7: Load Your Design
Now that your cap is securely hooped, it's time to load your embroidery design into your machine. If you've used a vector art service like zdigitizing to digitize your design, make sure you have the digital file in the correct format (.DST or .PES) ready to go.
Step 8: Position the Design
Use your embroidery machine's interface to position the design within the cap's embroidery area. Align it with the marked center on the cap frame to ensure it's perfectly centered.
Step 9: Test the Placement
Before starting the actual embroidery, it's a good practice to do a test run. Lower the needle down manually to check that the design is aligned correctly and that there's enough clearance around it.
Step 10: Embroider the Cap
Once you're satisfied with the design's placement and clearance, it's time to start the embroidery process. Follow your embroidery machine's instructions to begin stitching. Monitor the process to ensure there are no issues, and the cap is hooped securely free embroidery designs.
Step 11: Remove the Cap
After the embroidery is complete, carefully remove the cap from the cap frame. Release any clamps or clips gently to avoid damaging the cap or the embroidery.
Step 12: Trim Excess Stabilizer and Threads
Use your scissors to trim any excess stabilizer from the inside of the cap. Be careful not to cut too close to the stitches, as this can compromise the design's integrity. Trim any loose thread ends for a clean finish.
Step 13: Inspect and Adjust
Examine your embroidered cap closely. Check for any imperfections, such as missed stitches or thread breaks. If needed, make any necessary adjustments and re-embroider the cap.
Tips for Successful Cap Embroidery
To achieve professional results with cap embroidery, keep these additional tips in mind:
Use High-Quality Thread: Invest in high-quality embroidery thread that won't fray or break easily.
Practice Digitizing: If you're digitizing your own designs, practice to improve your skills. Alternatively, consider using an embroidery digitizing company for intricate designs.
Maintain Your Machine: Regularly clean and maintain your embroidery machine to ensure it operates smoothly.
Test Stitch on Scrap Fabric: Before embroidering on the cap, test your design on a scrap piece of similar fabric to ensure it looks as expected.
Experiment with Backing: Depending on the cap's material and design, you may need different types of backing or topping to achieve the best results.