- 1. Scope: This process standard is applicable to the installation of electrical lighting fixtures. But it is not suitable for the installation of electrical lighting fixtures in special places such as mines, ships, etc
- 2. Construction preparation
- 2.1 Material requirements:
All types of lighting fixtures: The model and specifications of the lighting fixtures must comply with the design requirements and national standards. The wiring inside the lamp is strictly prohibited from being exposed, and the lamp accessories are complete, without mechanical damage, deformation, paint peeling, cracked lampshade, and crooked light box.
All lighting fixtures should have product qualification certificates.
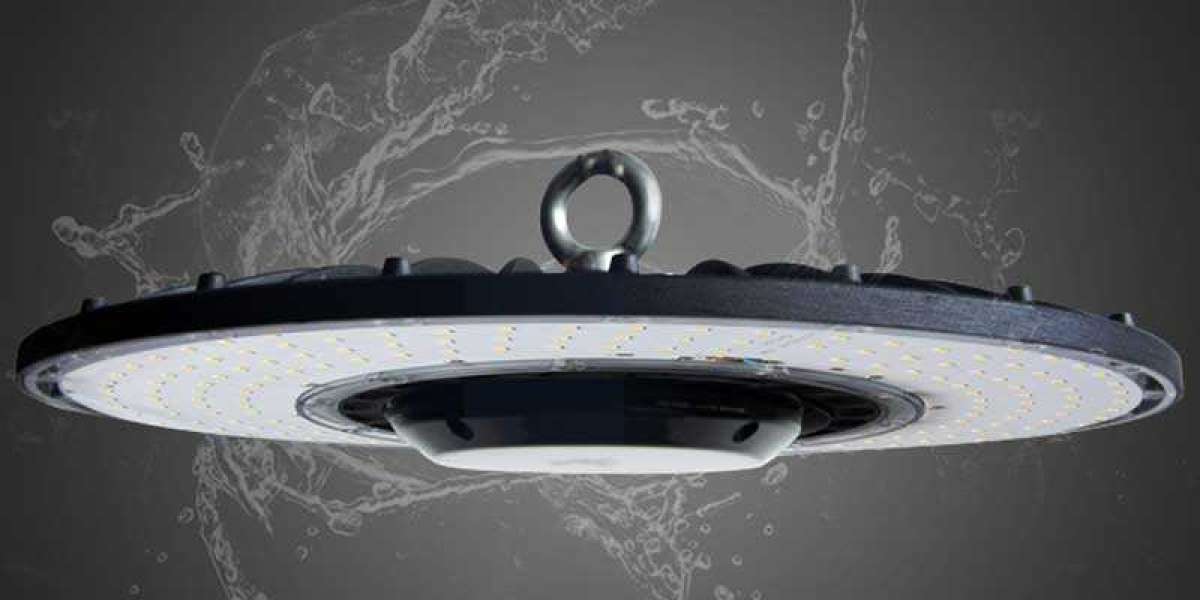
- Hanging pipe: When using steel pipe as the hanging pipe for lighting fixtures(as Symmetrical Asymmetrical Slim LED Floodlight ), the inner diameter of the steel pipe is generally not less than 10mm
- Hook: The diameter of the round steel of the lantern hook shall not be less than the diameter of the hanging pin and shall not be less than 6mm
- Porcelain joint: It should be intact and all accessories should be complete.
- Support: Galvanized materials of corresponding specifications must be selected according to the weight of the lamp to make the support.
- Lamp fixtures (claws): Plastic lamp fixtures (claws) must not have cracks or defects.
- Other materials: expansion tube, wooden screw, bolt, nut, washer, spring, lamp head iron piece, lead wire, lamp holder, lamp mouth, fluorescent lamp foot, bulb, lamp tube, ballast, capacitor, starter, starter base, fuse, hanging box (flange), soft plastic tube, capacitor, hanging chain, wire clip, lampshade, nylon wire mesh, soldering tin, flux (rosin, alcohol), rubber insulation tape, adhesive plastic tape, black tape, sandcloth Cleaning cloth, asbestos cloth, etc.
2.2 Main equipment:
Red pencil, tape measure, small wire, plumb bob, level gauge, glove, safety belt, tie cone, hammer, chisel, hacksaw, saw blade, pressure case, flat file, round file, wire stripping pliers, flat mouth pliers, pointed nose pliers, tap, straight screwdriver, cross screwdriver, adjustable wrench, threading board, electric furnace, electric soldering iron, tin pot, tin spoon, bench vice, bench drill, electric drill, electric hammer, nail *, megohm meter, multimeter, tool bag, toolbox, high stool, etc.
2.3 Operating conditions:
During structural construction, pre embedding work should be carried out, with bolts embedded in the concrete floor slab and suspension rods embedded in the ceiling. The box mouth has been repaired, and the wooden platform and board have been painted. The templates and scaffolding that have an impact on the installation of lighting fixtures have been removed. The plastering work for the ceiling and walls, indoor decoration mortar work, and ground cleaning work have all been completed.
3 Operation process
3.1 Process flow:
Lamp inspection, lamp assembly, lamp installation, power on test run
3.2 Lamp inspection:
Check whether the lighting fixtures meet the following requirements based on their installation location:
- (a) Explosion proof lamps should be used in flammable and explosive places;
- (b) Enclosed lighting fixtures should be used in places with corrosive gases and particularly humid conditions, and all components of the lighting fixtures should be treated with anti-corrosion measures;
- (c) Enclosed lamps with drainage holes should be used for lighting fixtures in damp factories and outdoors;
- (d) Enclosed or enclosed lighting fixtures should be used in dusty areas based on the concentration and nature of the dust;
- (e) Hot and dusty places (such as steel tapping, iron tapping, steel rolling, etc.) should use High Power LED Floodlights;
- (f) Lighting fixtures with protective nets should be used in factories that may be mechanically damaged;
- (g) In places of vibration (such as forging hammers, air compressors, bridge cranes, etc.), lighting fixtures should have shockproof measures (such as using flexible connections with hanging chains);
- (h) Except for open type lamps, all other types of lamps with a bulb capacity of 100W or above should use porcelain lamp sockets.
Check if the wiring inside the lamp meets the following requirements:
- (a) The wiring inside the lamp should comply with design requirements and relevant regulations;
- (b) The wire passing through the light box shall not bear additional stress and wear at the branch connection, and the end of the multi-stranded flexible wire shall be coiled and tinned;
- (c) The wires inside the light box should not be too close to the thermal light source and insulation measures should be taken.
- (d) When using screw lamp sockets, the phase wires must be connected to the lamp core column;
- (e) The wiring of the fluorescent lamp is shown in the following figure
Inspection of characteristic lighting fixtures:
- (a) The indication direction of various sign lights and 1500W-2000W Modular Stadium Light is correct and correct;
- (b) Emergency lights must be sensitive and reliable;
- (c) Emergency lighting fixtures should have special markings;
- (d) The transformer for local lighting must be double wound, and the first stage should be equipped with a fuse;
- (e) The wires used for portable local lighting fixtures should use rubber sheathed wires, and the grounding or neutral wires should be within the same sheath.
3.3 Lamp Assembly:
Assembly of Combined Ceiling Lantern:
- (a) Firstly, lay the bracket of the lamp flat. If the bracket is assembled from multiple pieces, align all the frames and fix them with screws to connect them together. Then, install each lamp outlet according to the instructions and schematic diagram.
- (b) Determine the position of the outgoing and routing wires, and connect the terminal board
The Links From:Installation process standards for lighting fixtures
 " class="wow_main_float_head_img">


