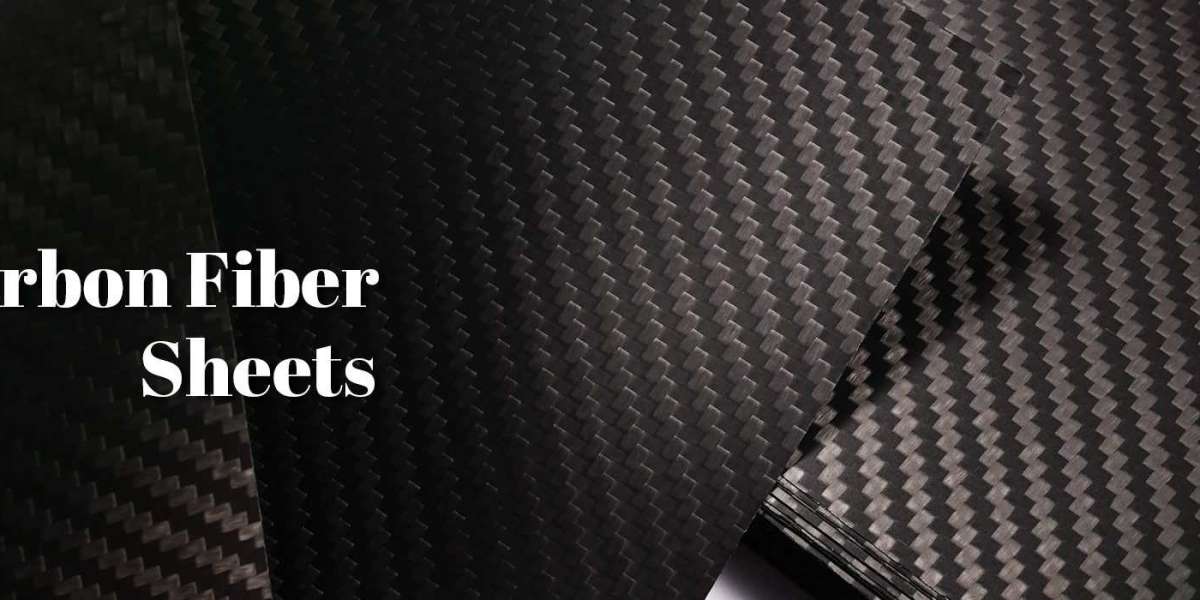
Carbon fiber is a material that is becoming increasingly popular in many industries due to its strength, durability, and lightweight nature. Carbon fiber sheets are made by weaving carbon fibers together into a fabric and then combining them with a resin to create a strong and lightweight composite material. This article will provide a detailed guide on how to make carbon fiber sheets.
Materials Needed:
- Carbon Fiber Fabric
- Resin (Epoxy or Polyester)
- Release Film
- Peel Ply
- Vacuum Bagging Film
- Breather/Bleeder Fabric
- Composite Mold
- Vacuum Pump
Step 1: Prepare the Mold
The first step in making a carbon fiber sheet is to prepare the mold. The mold can be made of various materials such as metal, plastic, or even wood. The mold must be smooth and free of any defects, as any imperfections will be transferred to the final product.
Step 2: Cut the Carbon Fiber Fabric
Carbon fiber fabric is sold in rolls and can be purchased online or from specialty stores. The fabric is typically woven in a plain weave pattern or a twill pattern. The pattern chosen will depend on the desired aesthetic and strength of the final product.
The carbon fiber fabric should be cut to the size and shape of the mold, leaving a little extra material on the sides to allow for trimming later. It is essential to ensure that the fabric is cut precisely and evenly to avoid any wrinkles or folds.
Step 3: Apply the Resin
The next step is to apply the resin to the carbon fiber fabric. The resin used can be either epoxy or polyester resin, depending on the application. Epoxy resin is generally preferred for its superior strength and durability.
The resin should be mixed according to the carbon fiber manufacturer's instructions and applied to the fabric using a brush or roller. The fabric should be fully saturated with resin, ensuring that no dry spots remain.
Step 4: Apply the Release Film
Once the resin has been applied, the release film should be applied over the carbon fiber fabric. The release film is a thin, transparent film that prevents the resin from sticking to the breather/bleeder fabric and the vacuum bagging film. The release film should be cut to the size and shape of the mold and applied directly over the carbon fiber fabric.
Step 5: Apply the Peel Ply
The next layer to be applied is the peel ply. The peel ply is a thin, porous material that is used to create a rough surface on the carbon fiber sheet. The rough surface created by the peel ply improves the adhesion of subsequent layers of carbon fiber sheets or other materials.
The peel ply should be cut to the size and shape of the mold and applied directly over the release film.
Step 6: Apply the Breather/Bleeder Fabric
The breather/bleeder fabric is a layer of material that is used to absorb excess resin and provide a path for the air to escape during the vacuum bagging process. The breather/bleeder fabric should be cut to the size and shape of the mold and applied directly over the peel ply.
Step 7: Place the Carbon Fiber Fabric in the Mold
The carbon fiber fabric, which has been coated with resin and covered with release film, peel ply, and breather/bleeder fabric, should be placed in the mold. The excess material on the sides of the carbon fiber fabric should be folded over the top of the mold.
Step 8: Cover with Vacuum Bagging Film
The vacuum bagging film is a special plastic film that is used to create a vacuum-tight seal around the mold. The vacuum bagging film should be cut to the size and shape of the mold and placed over the top of the mold, covering the folded-over edges of the carbon fiber fabric.
Step 9: Seal the Vacuum Bagging Film
The vacuum bagging film should be sealed tightly around the mold using a vacuum bagging tape or a vacuum bagging film adhesive. It is essential to ensure that the seal is airtight to maintain the vacuum pressure during the curing process.
Step 10: Apply Vacuum Pressure
The vacuum pump should be connected to the vacuum bagging film, and the vacuum pressure should be applied to the mold. The vacuum pressure pulls the air and excess resin out of the mold, resulting in a strong and lightweight carbon fiber sheet.
Step 11: Curing
The mold, with the carbon fiber sheet inside, should be placed in a curing oven or allowed to cure at room temperature, depending on the resin used. The curing process may take several hours to several days, depending on the thickness of the carbon fiber sheet and the curing temperature.
Step 12: Trim and Finish the Carbon Fiber Sheet
Once the curing process is complete, the vacuum bagging film and the excess carbon fiber material on the sides of the mold should be removed. The carbon fiber sheet should be trimmed to the desired size and shape using a saw or a cutting tool. The edges of the carbon fiber sheet should be sanded to achieve a smooth finish.
Conclusion
Making carbon fiber sheets is a complex and time-consuming process, but the resulting product is strong, lightweight, and durable. The process involves weaving carbon fibers together into a fabric, coating them with resin, and curing them under vacuum pressure. With proper preparation and attention to detail, anyone can make high-quality carbon fiber sheets that are suitable for a wide range of applications, including aerospace, automotive, and sporting goods.
Source: https://ibusinessday.com/how-to-make-carbon-fiber-sheets/


