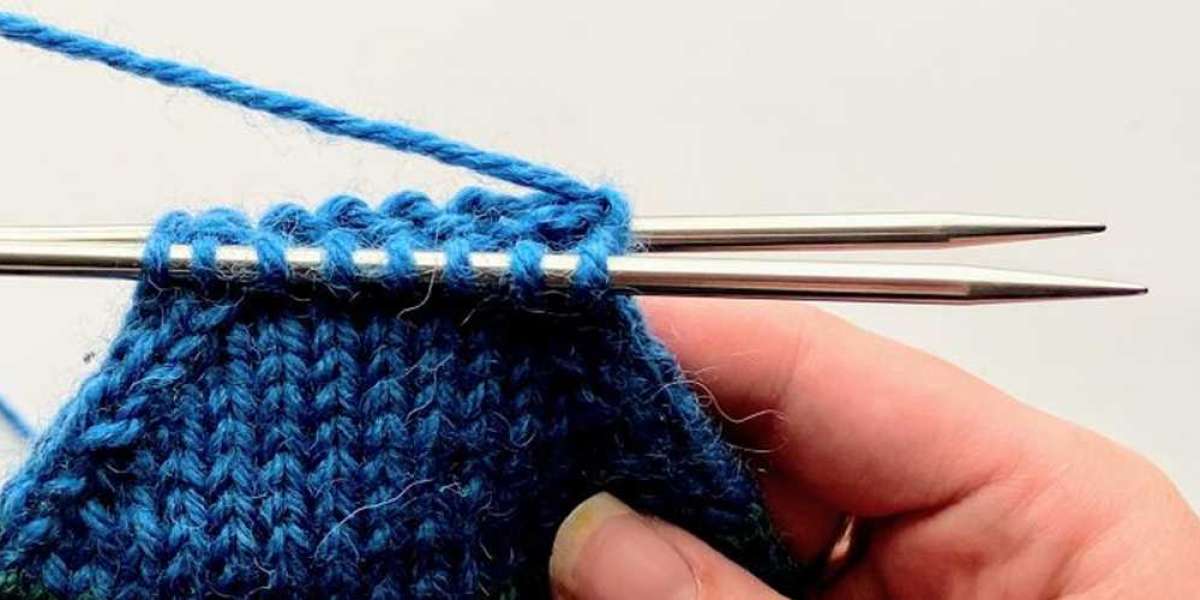
The Kitchener Stitch is a masterful knitting technique for invisibly joining two sets of live stitches. When you have come to the end of your project and need to cast stitches off the knitting needles, it is essentially a series of sewing steps that you complete with the help of yarn and a darning needle. In the end, you have a series of knitted stitches that blend together without any visible seam. It is commonly used to join the toes of socks, close shoulder seams, or top mittens, but it can be employed any time two live stitches must be connected. While it is possible to graft ribbing or purl stitches, the Kitchener Stitch is usually employed to graft two pieces of stockinette stitch (an alternating pattern of knit and purl stitches).
If you have yet to give the Kitchener Stitch a go, then you have arrived in the perfect place. In this blog post, we will show you how to knit the Kitchener Stitch.
Set up your knitting needles for the Kitchener Stitch
Before starting the grafting with the Kitchener stitch, make sure that your knitted stitches are lined up on two knitting needles, with the same number of stitches on each needle and the purl sides facing one another, with the knitting needle points facing the right. If you are working with single-pointed needles then you will only have two tips as is for circular needles. Even if you are working with double-pointed needles when it’s time to graft make sure that all stitches are transferred on only two needle tips.
You can use either a length of yarn or the tail from the piece in the back. In either case, your yarn or tail should be three times as long as the edge you are aiming to graft. Choosing the right darning needle is equally important as there are two options a bent tip as well a round tip.
Step-by-Step Directions.
Step 1: Thread your yarn or tail onto a darning needle. Insert the needle into the first stitch on the front needle, as if to purl (from back to front). Keep the stitch on the needle. Pull the yarn taut if using a tail; if using a separate yarn, leave a bit of yarn long enough to weave in later.
Step 2: Now insert the needle into the first stitch on the back needle, as if to knit (from front to back). Once again, do not remove the stitch from the needle. Make sure that the yarn is positioned under both needles. If the yarn accidentally gets wrapped around the needles, it could be mistaken for a stitch.
Step 3: Go through the first stitch on the front needle as if to knit and remove the stitch from the needle.
Step 4: Keeping the needle on the front needle, go through the new first stitch as if to purl. Retain the stitch on the needle.
Step 5: Now on the back needle, go through the first stitch as if to purl and pull the stitch off the needle.
To remember when to drop the stitch, remember this: On the front needle, drop the stitch only when inserting the needle into it knit-wise. On the back needle, drop the stitch only when inserting the needle into it purl-wise.
Step 6: Still on the back needle, go through the new first stitch as if to knit. Leave the stitch on the needle.
Step 7: Keep repeating steps 3-6 until only two stitches are left.
Step 8: When you have one stitch left on each needle, do Step 1 and then go to Step 3. Now you can begin to adjust the tension of the row. Start from the right side and pull up the right side of the stitch, then the left. This may sound tedious but it is necessary for achieving the desired results.
The Kitchener Stitch does so much good for your knitting projects. To make the process easier to remember, chant “knit, purl, purl, knit” or “knit off, purl on, purl off, knit on” as you go. To help keep track of your progress, you can jot down the steps on a cue card. Once you have gone through all of the stitches, use a blunt darning needle tip to delicately and evenly tighten the stitches one by one before weaving in the ends. This will help the tension in the grafted row match the tension in the rest of the project.
Hopefully, you have found this tutorial helpful. With a bit of time and practice, you will soon master the Kitchener Stitch. You can also experiment with Whip Stitch or Mattress Stitches which are other methods to graft and seam two pieces of knitted fabric. Explore the Mindful Collection to find stainless steel knitting needles and accessories for easy crafting.
Source: https://themindfulcollection.nethouse.ru/posts/how-to-knit-the-kitchener-stitch


