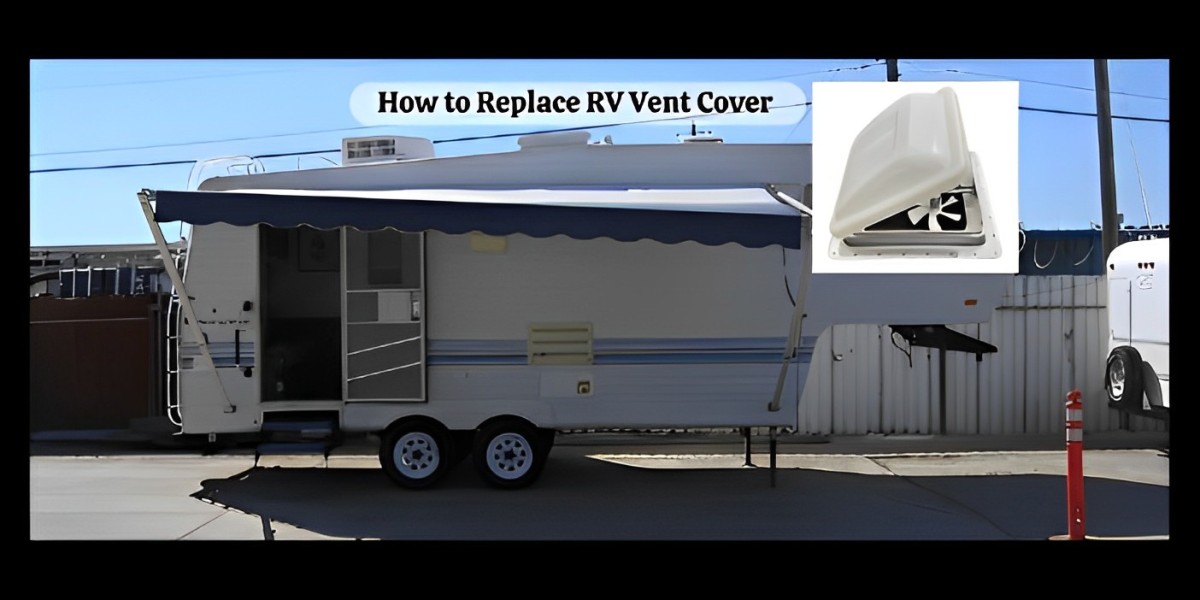
Vent covers play an indispensable role in maintaining your RV's utmost comfort and high-quality air, helping to circulate fresh air and minimize humidity levels while effectively eliminating odors. However, incessant exposure to environmental factors may cause wear and tear on these coverings over time, making replacing the RV vent cover pivotal. Don't fret; this exhaustive blog will walk you through the step-by-step RV vent cover replacement process, equipping you with all the necessary information and instructions to complete the replacement effectively. Let's dive in and enhance your RV's ventilation system!
Unveiling the Vitality of Vent Covers
Before commencing the replacement procedure, comprehending the role of vent covers in your RV is crucial. They provide ventilation without letting in rain, debris, or insects. A broken or damaged vent cover can lead to water leaks, interior damage, and reduced air quality. Now, let's explore the steps!
Gathering the Necessary Supplies
Have the Following Things Handy:
Replacement vent cover
Screwdriver or drill
Ladder
Safety gloves and glasses
Ensure the replacement vent cover is of the appropriate size and type for your specific RV model. However, if you find the process arduous, it's best to seek assistance from trailer repair Sacramento professionals to guarantee a seamless installation and optimal performance.
Safety First
First and foremost, prioritize your safety. Utilize a reliable ladder to reach the RV's roof, and don't overlook the importance of wearing safety gloves and glasses to help minimize potential risks.
Remove the Damaged Vent Cover
After ensuring your safety, remove the vent cover by loosening and removing the screws that hold it in place using either a drill or screwdriver. Once the screws are out, you may be able to lift the old cover off easily.
Clean the Vent
Clean the vent area before installing the new cover to ensure a good fit. Remove the debris, dust, or rust that might hinder the installation.
Install the New Vent Cover
To successfully replace the vent cover, vigilantly position the new cover over the vent, aligning the screw holes. Use the screws provided with the new cover to fasten it in place. Ensure it's snug but not overly tight, as this could crack the cover.
Check Your Work
Once the new cover is installed, ensure it fits appropriately and moves smoothly. Furthermore, check if the vent opens and closes effortlessly and if the cover sits flush against the roof when closed.
When to Engage Professionals
Although replacing a vent cover is a manageable DIY job, some situations necessitate professional help. If there is extensive damage around the vent, or if you're uncomfortable performing the replacement yourself, it's highly advisable to confer with a specialist. Whether you need trailer or motorhome repair in Sacramento, professional services can ensure the job is done right while offering a seamless and reliable solution for your specific needs.
Final Thoughts
Replacing an RV vent cover is a straightforward task that can significantly improve your RV's comfort and air quality. Following the right steps and utilizing the appropriate tools can help you perform this maintenance task yourself. However, if the task seems too daunting or if there's more significant damage, never reluctant to seek professional assistance.


